Showing posts with label activities. Show all posts

Thursday, April 15, 2010

Children's Garden

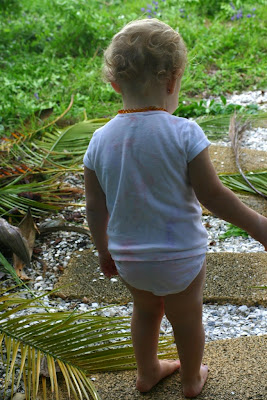
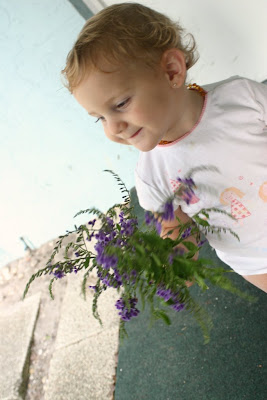
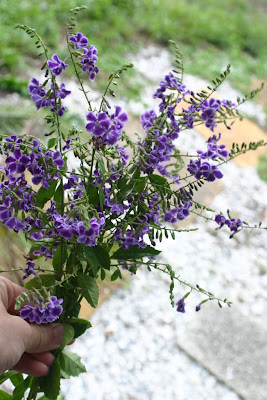
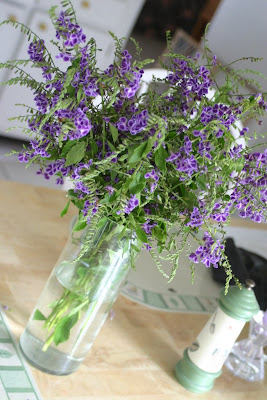
We went to the Sarasota Children's Garden again today!  This is only the second time we've ever been... but the place is amazing!  The lush greenery... the fanciful surroundings ~ So fun, beautiful, & whimsical!!


Thursday, October 15, 2009

All Natural Play Clay

Marmee taught preschool for many, many years, and used to make homemade playdough for us, all the time! - I forgot how easy and fun it is! Plus with homemade... you no exactly what's in it No worries about funky ingredients or toxic colorings! So, if some ends up in your curious toddler’s mouth.... it's perfectly fine! (though the taste probably won’t be much to her liking)

The October 2009 issue* of Family Fun Magazine recently contained an excellent recipe for All Natural Play Clay. I especially like this one, because you don't have to have cream of tartar on hand. ... nor do you have to cook anything. And since there is no stove involved... children can be part of making it too!

The other part of the article, that really caught my attention, was the tips on coloring the dough, using common [natural] kitchen ingredients, such as cocoa powder, beet juice, paprika or turmeric! Hmm...I wonder what other colors we could figure out...? Perhaps, blueberry juice for purple... ??


*if you happen to own a copy of this magazine, the article can be found on page 18 of the issue.)


Ingredients
1 C flour
3/8 C salt
1 T vegetable oil
Natural Dye (see below for colors)
Directions
In a bowl, combine flour and salt. Pour in oil & natural dye and stir well. Knead dough for a few minutes. If clay is too soft, add a bit more flour. Store the clay in air tight containers in the refrigerator.
-----------------------------------------------------------------------------
Natural Dye:
Brown: 3/8 C plus 1 T hot water, 4 T cocoa powder
Fuchsia: 3/8 C hot beet juice
Orange: 3/8 C hot water & 1 T paprika
Yellow: 3/8 C hot water & 1 tsp. turmeric

  • Here’s a link to the online recipe. It’s almost the same as the magazine recipe, but the magazine recipe included a tablespoon of vegetable oil too... as well as those natural dyes I mentioned! :-)
  • In light of the season, this is one I definitely want to try... a recipe for Pumpkin Pie Play Dough... Mmm!!
  • Arm & Hammer even has a cool pdf where you can get ideas on how to use your play clay. Their version is slightly different but if you want a little longer lasting it would work too. Click HERE for that PDF

Friday, May 22, 2009

Sidewalk Chalk


We had a beautiful afternoon in the beautiful outdoors, playing with one of my childhood favorties... sidewalk chalk!!


As tradition... I traced around KB, and made her a chalk girl....


We started to make a second one - a ballerina girl....

But got interrupted by this...


After the rain passed, we went to the front yard, where B had just finished trimming...


and collected these pretty flowers for the kitchen table....


Saturday, May 9, 2009

Toddler crayons...

What does one do with a whole bag of old, unwanted, crayons... some that are perfectly good - just extremely illogical for small hands... and others that are broken and of no use to anyone??


Why, recycle them into toddler crayons, of course!!!

Like most families with toddlers... no matter what the child's temperament. you always end up with a bunch broken crayons.... Fact of life. Those thin, elongated little buggers, are just not designed for a toddlers chunky hands, or their beautiful, spontaneous spurts of swirling energy & creativity! So what's the solution? These beauties...


Here's how it works....
You’ll need:
  • Crayons - (you can purchase them cheaply at the back to school sales.... or just use ones you already have! - I would highly recommend using higher quality [Crayola] crayons though!!)
  • Muffin pan or candy molds (preferably one that you don’t mind getting a little crayon on! Also, some prefer mini muffin tins... I used a regular sized one.)
  • An oven
Preheat your oven to 250 degrees F.

Peel off all the paper from the crayons...

(for the new ones, I found it much quicker to remove the paper in one smooth motion if I carefully ran the exacto knife down the center of the paper and peeled the paper back -- for the old ones with stubborn wrappers, a minute or two soak under running hot water worked well.)
Break them into small pieces... & arrange them in each cup of the tin.
(I did like colors together, but multi-colored ones would be fun, as well!)

Bake just long enough to be melted, so you can’t distinguish the crayon shape anymore
(^These^ are not quite there yet!)
Turn off the stove...
but leave them to sit & congeal a little, before moving the pan.

(**this is especially important if you are doing multi-colored crayons!! -- Failure to do so, will cause the colors to amalgamate... and you will end up with brown crayons!!!**)
Let them cool and solidify....
Pop them out of the tins....

(If you have trouble with this, you can put them in the freezer for a bit)
And Enjoy!


Apparently they make good stacking toys too! ;)


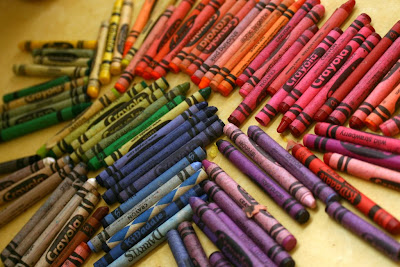
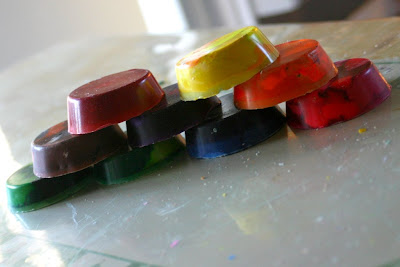
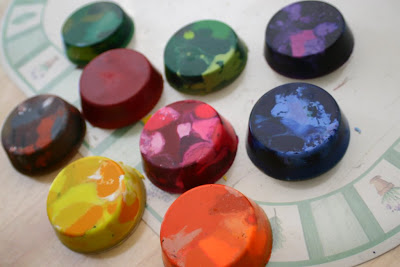
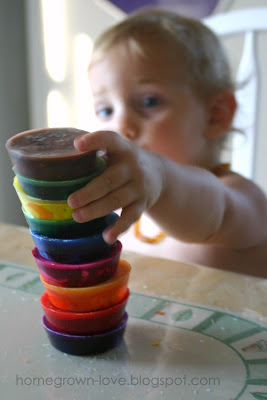
Did you have trouble with a clear layer of wax forming on the top of your crayons?
See my Addendum post, here.